Package Exports
This package does not declare an exports field, so the exports above have been automatically detected and optimized by JSPM instead. If any package subpath is missing, it is recommended to post an issue to the original package (@directus-labs/tour-group-interface) to support the "exports" field. If that is not possible, create a JSPM override to customize the exports field for this package.
Readme
Tour Group Interface
Create an interactive tour for your form.
Installation
Refer to the Official Guide for details on installing the extension from the Marketplace or manually.
Usage
This interface creates an interactive walkthrough for your form/item view.
In the settings, you can define each step of your interactive tour, as well as some customization options. The latter are useful for differentiation when using multiple tours within the same page.
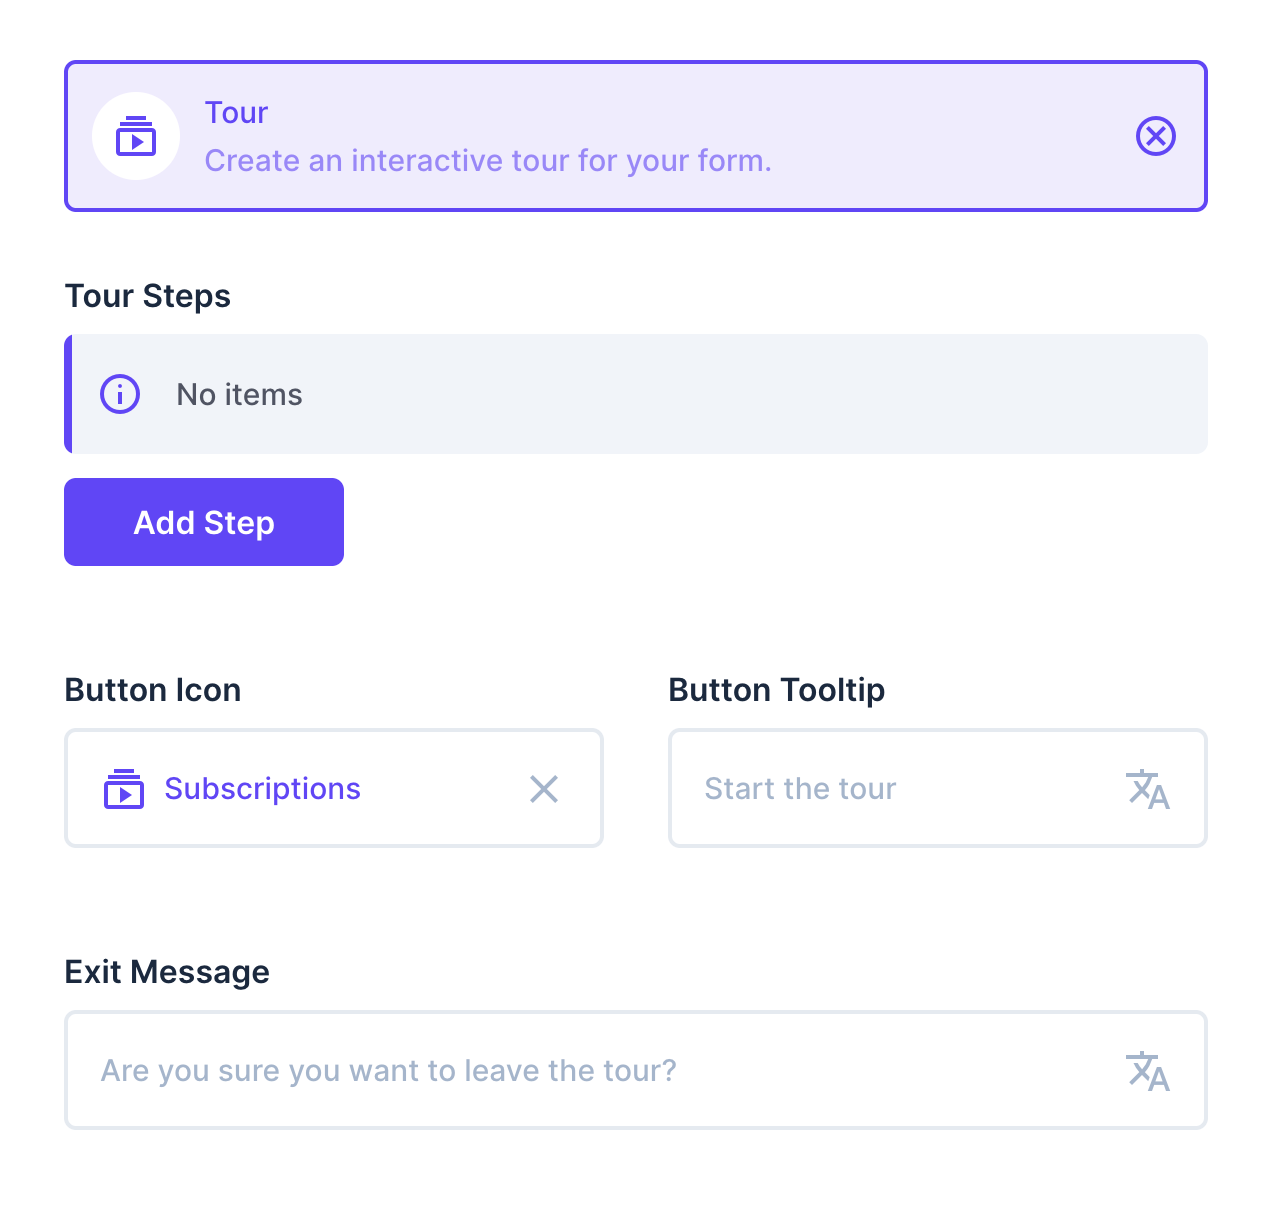
Since this is a group interface, you can wrap fields with it. The group interface tries to inject classes into these fields, so that you can easily select them for your interactive tour.
For example, if you wrap a field called title with the tour group, it will try to inject both the .tour-input-title and .tour-field-title classes. Use your browser to inspect which classes are available for your fields to use as selectors.
Adding a step for your tour
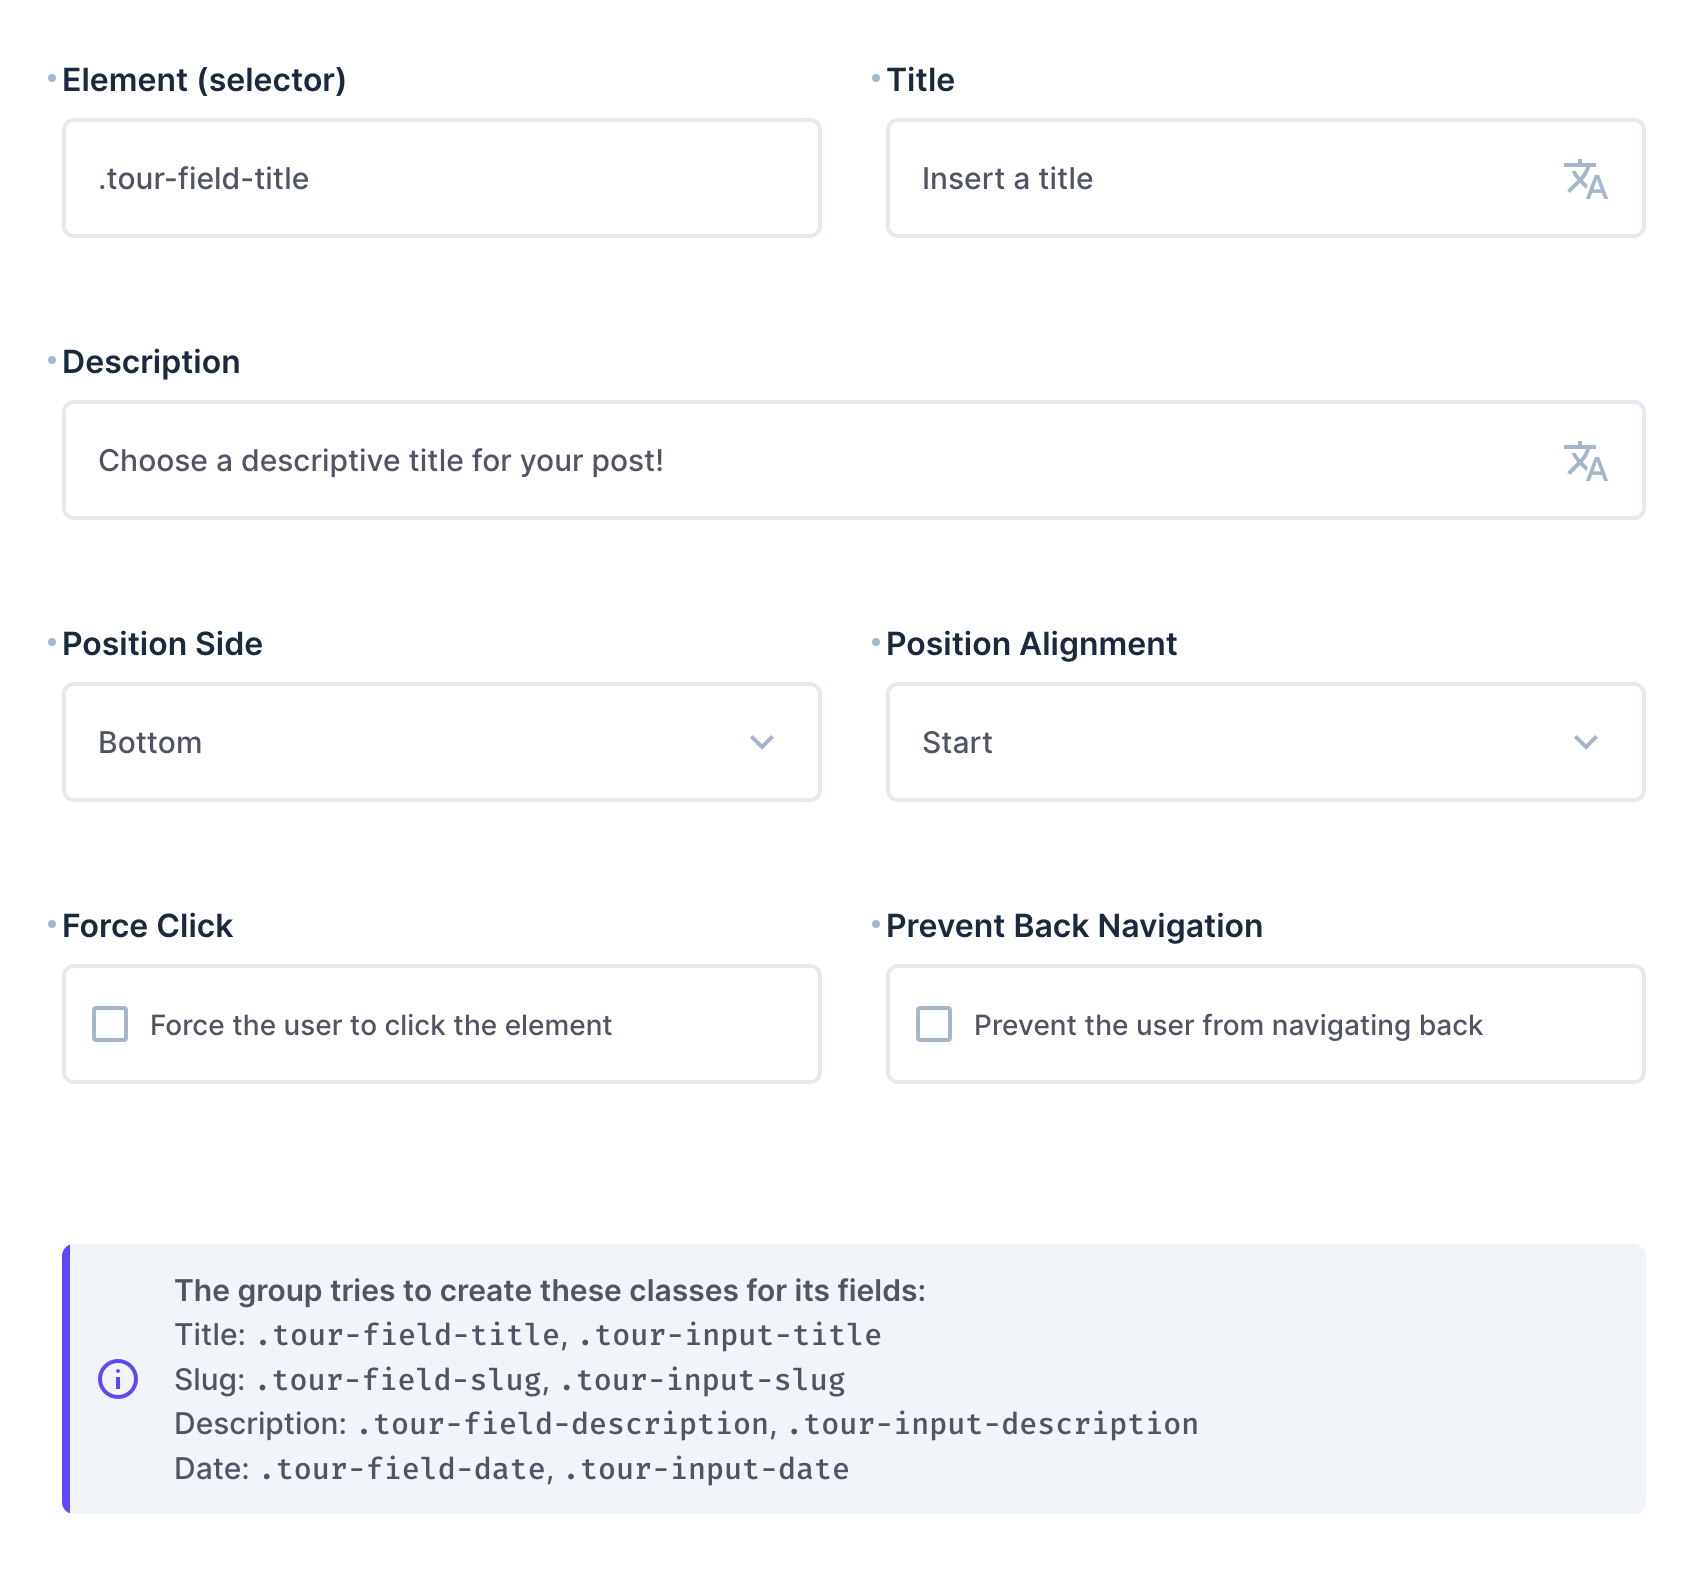
After clicking the Add Step button in the interface settings, you can set up your tour step. The Element field requires a selector that targets an element you want to focus on with this tour step. Basically, you can choose any selector as long as it exists on the page where the tour is running.
At the bottom of your tour step settings, you will find the class names that the interface tries to add to the fields within this group.
Specify a Title and/or a Description to appear in the tour step popup, whose position you can adjust using the Position Side and Position Alignment options.
The Force Click and Prevent Back Navigation settings help you implement common use cases, such as when you want the interactive tour to continue only after a button is clicked, and because it may opens a modal, you should not be able to navigate back, when you reach that step.
Tip: If you don’t add a tour step, the group interface will still try to inject the classes as described above. This means that you can use this interface for this purpose only.