
Package Exports
- @cometchat/chat-sdk-javascript
- @cometchat/chat-sdk-javascript/CometChat.js
This package does not declare an exports field, so the exports above have been automatically detected and optimized by JSPM instead. If any package subpath is missing, it is recommended to post an issue to the original package (@cometchat/chat-sdk-javascript) to support the "exports" field. If that is not possible, create a JSPM override to customize the exports field for this package.
Readme

CometChat Javascript SDK
CometChat enables you to add voice, video & text chat for your website & app. This guide demonstrates how to add chat to a WebSite using CometChat.
Prerequisites ⭐
Before you begin, ensure you have met the following requirements:
✅ You have Visual Studio Code or any other code editor installed in your machine.
✅ You have npm installed in your machine.
✅ You have read CometChat Key Concepts.
Installing CometChat Javascript SDK
Setup 🔧
To setup Javascript SDK, you need to first register on CometChat Dashboard. Click here to sign up.
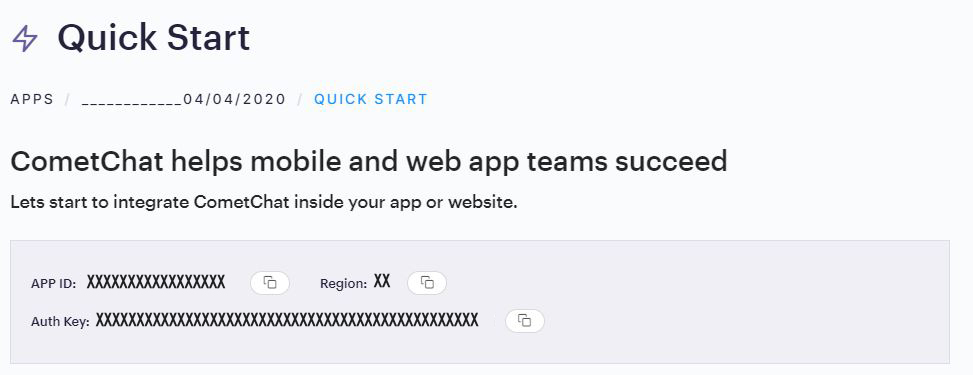
i. Get your Application Keys 🔑
Signup for CometChat and then:
- Create a new app: Click Add App option available → Enter App Name & other information → Create App
- At the Top in QuickStart section you will find Auth Key & App ID or else you can head over to the API & Auth Keys section and note the Auth Key and App ID
ii. Add the CometChat Dependency
-
Install via NPM
1. Run the following command to install the CometChat Javascript SDK
npm install @cometchat/chat-sdk-javascript@latest --save
-
Import via CDN
1. Include the CometChat Javascript library in your HTML code.
<script type="text/javascript" src="https://unpkg.com/@cometchat/chat-sdk-javascript@latest/CometChat.js"></script>
You can refer to the below link for instructions on how to do so:
📝 Add CometChat Dependency
Configure CometChat Javascript SDK
i. Initialize CometChat 🌟
We suggest you call the init() method on app startup, preferably in the index.js file.
var appID = "APP_ID";
var region = "REGION";
var appSetting = new CometChat.AppSettingsBuilder().subscribePresenceForAllUsers().setRegion(region).build();
CometChat.init(appID, appSetting).then(
  () => {
    console.log("Initialization completed successfully");
  },
  error => {
    console.log("Initialization failed with error:", error);
  }
);
ℹ️ Note: Make sure to replace region and appID with your credentials. |
|---|
ii. Create User 👤
Once initialisation is successful, you will need to create a user. You need to use createUser() method to create user on the fly.
let authKey = "AUTH_KEY";
var uid = "user1";
var name = "Kevin";

var user = new CometChat.User(uid);

user.setName(name);

CometChat.createUser(user, authKey).then(
  user => {
    console.log("user created", user);
  },error => {
    console.log("error", error);
  }
);
ℹ️ Note: Make sure that UID and name are specified as these are mandatory fields to create a user.
iii. Login User 👤
Once you have created the user successfully, you will need to log the user into CometChat using the login() method.
var UID = "SUPERHERO1";
var authKey = "AUTH_KEY";

CometChat.getLoggedinUser().then(
  user => {
    if(!user){
      CometChat.login(UID, authKey).then(
        user => {
          console.log("Login Successful:", { user });
        },
        error => {
          console.log("Login failed with exception:", { error });
        }
      );
    }else{
      // User already logged in
    }
  }, error => {
    console.log("getLoggedinUser failed with exception:", { error });
  }
);
ℹ️ Note - The login() method needs to be called only once. Also replace AUTH_KEY with Auth Key from your app. |
|---|
Help and Support
For issues running the project or integrating with our UI Kits, consult our documentation or create a support ticket or seek real-time support via the CometChat Dashboard.