Package Exports
- @invertase/react-native-apple-authentication
This package does not declare an exports field, so the exports above have been automatically detected and optimized by JSPM instead. If any package subpath is missing, it is recommended to post an issue to the original package (@invertase/react-native-apple-authentication) to support the "exports" field. If that is not possible, create a JSPM override to customize the exports field for this package.
Readme
React Native Apple Authentication
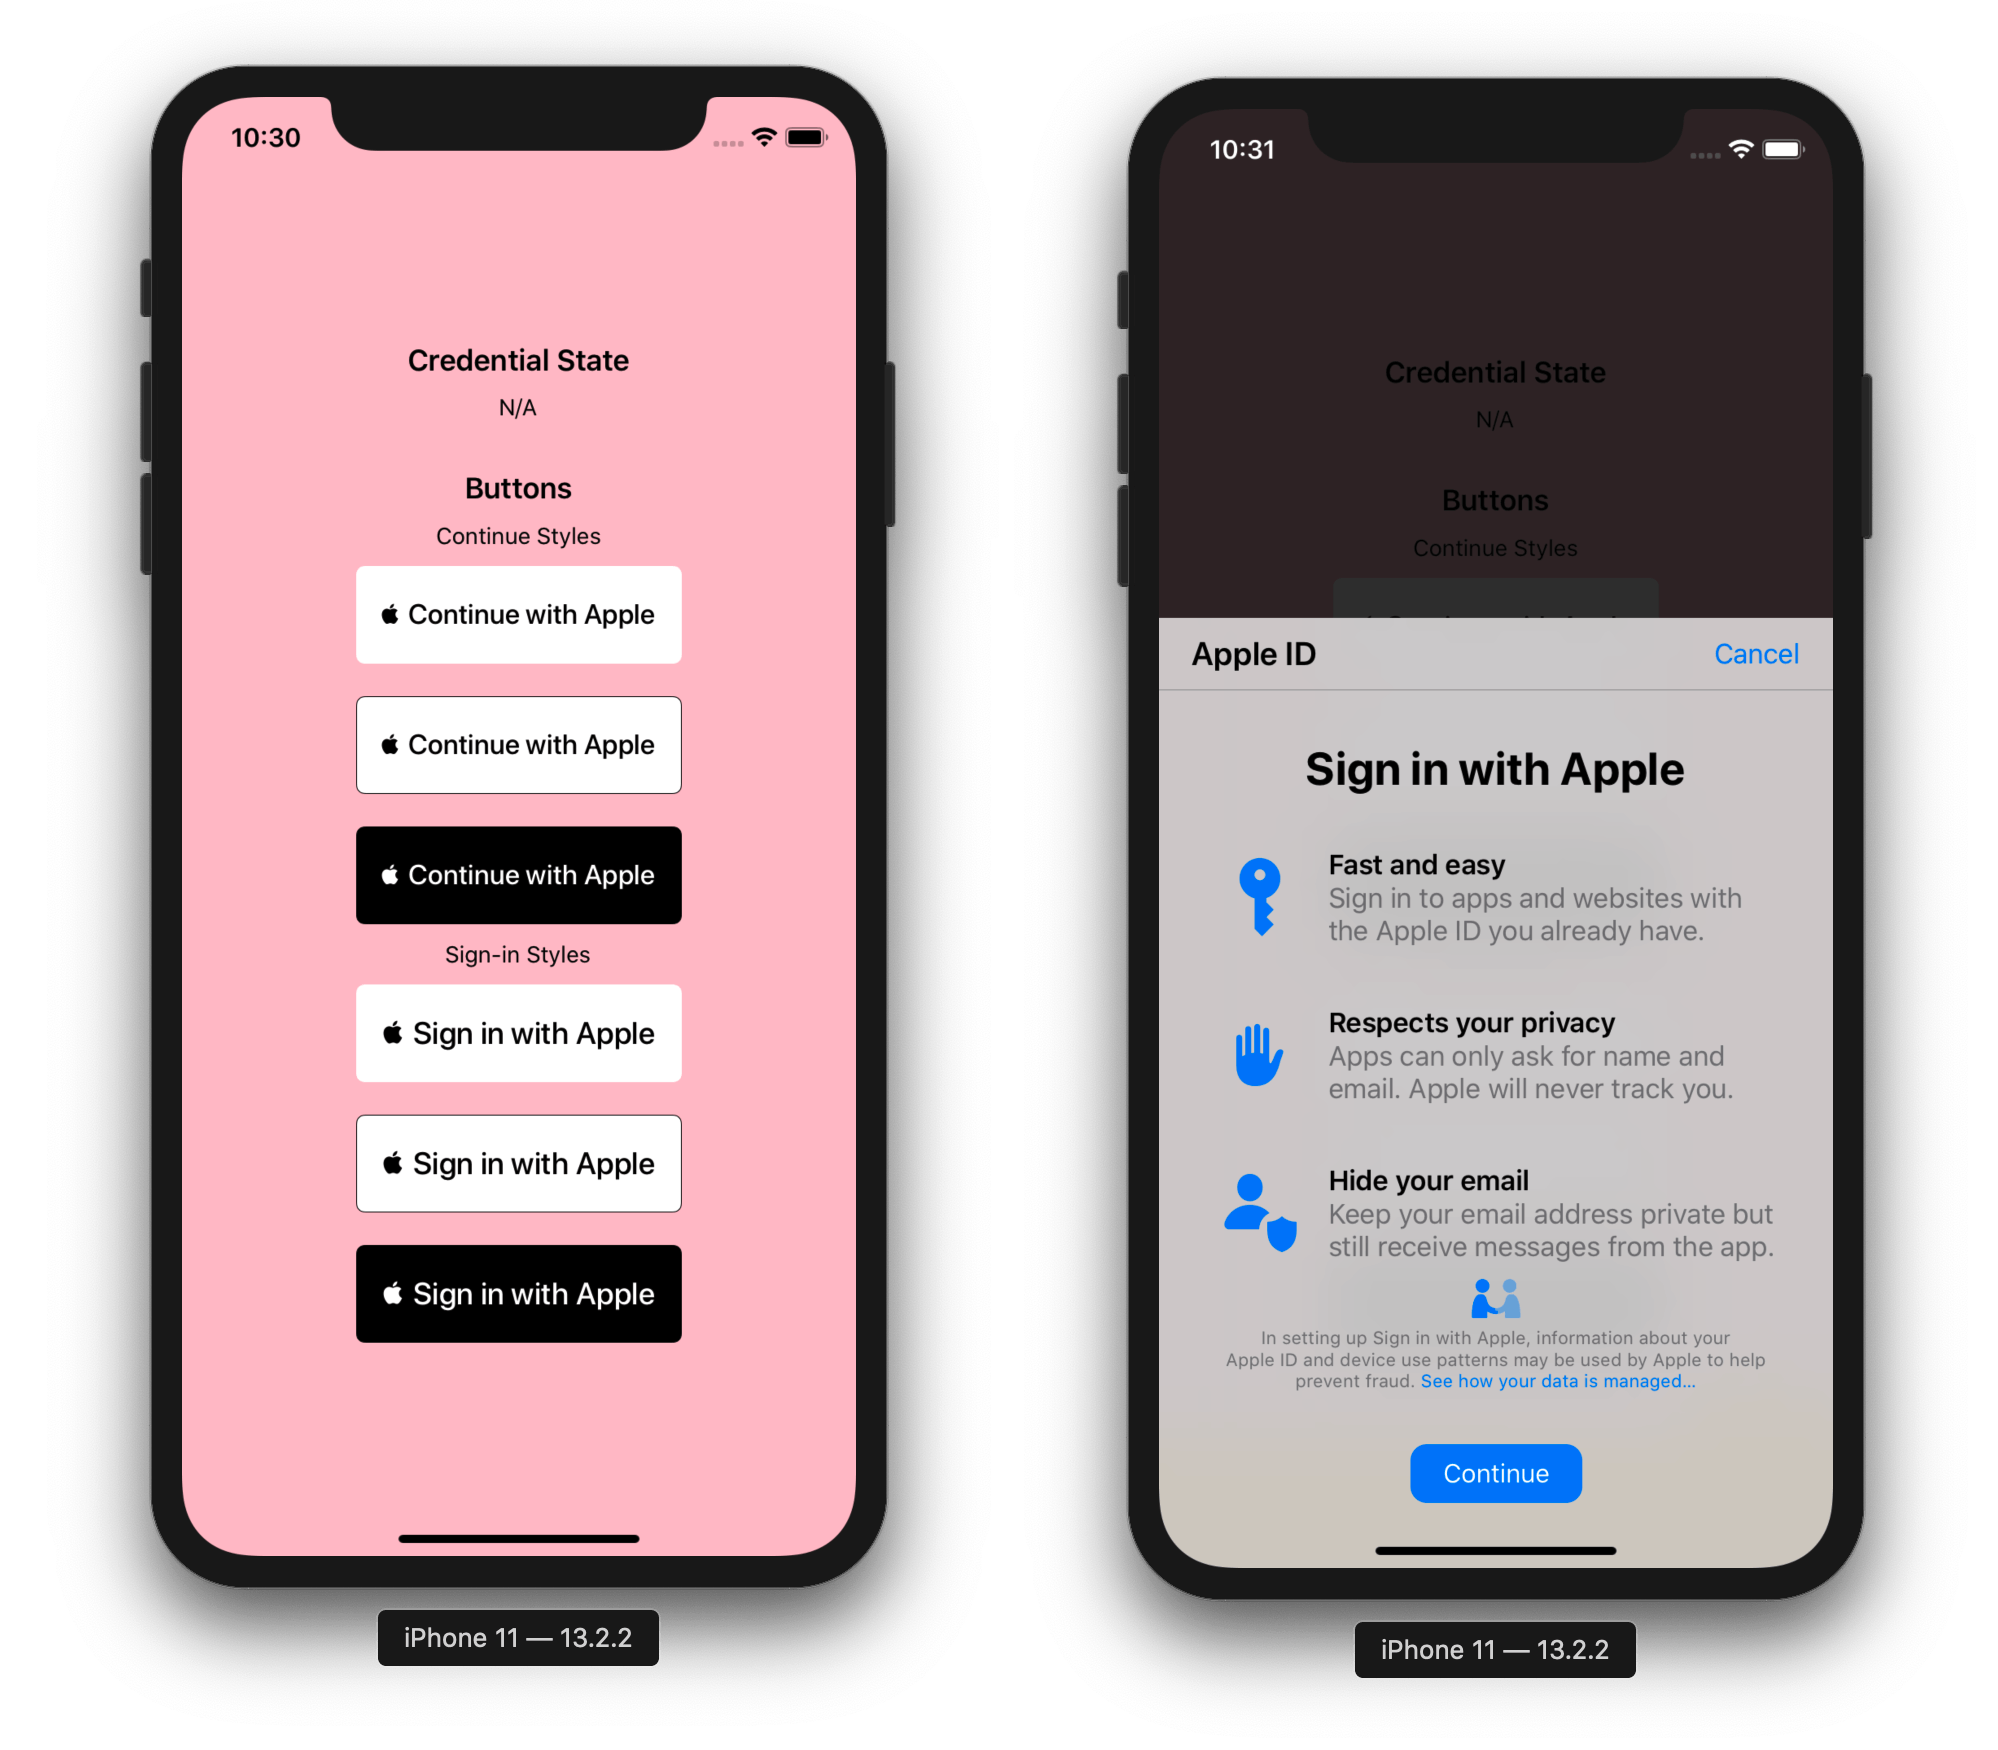
A well typed React Native library providing support for Apple Authentication on iOS, including support for all AppleButton variants.

Prerequisites to using this library
The @invertase/react-native-apple-authentication library will not work if you do not ensure the following:
You have setup react-native iOS development environment on your machine (Will only work on Mac). If not, please follow the official React Native documentation for getting started: React Native getting started documentation.
You are using React Native version
0.60or higher.You are using Xcode version
11or higher. This will allow you to develop using iOS version13, the only version possible for authenticating with Apple.Once you're sure you've met the above, please follow our Initial development environment setup guide.
Installation
yarn add @invertase/react-native-apple-authenticationYou will not have to manually link this module as it supports React Native auto-linking.
Usage
Below are simple steps to help you get up and running. Please skip and head to the full code examples noted below if you prefer to see a more complete implementation:
- React Hooks example
- React Class example
- If you're authenticating users via
React Native Firebase; see our Firebase guide
1. Initial set-up
Import the appleAuth (API documentation) module and the AppleButton (API documentation) exported member element from the @invertase/react-native-apple-authentication library. Setup an event handler (onPress) to kick start the authentication request.
// App.js

import React from 'react';
import { View } from 'react-native';
import { AppleButton } from '@invertase/react-native-apple-authentication';

async function onAppleButtonPress() {

}

function App() {
  return (
    <View>
      <AppleButton
        buttonStyle={AppleButton.Style.WHITE}
        buttonType={AppleButton.Type.SIGN_IN}
        style={{
          width: 160,
          height: 45,
        }}
        onPress={() => onAppleButtonPress()}
      />
    </View>
  );
}
2. Implement the login process
Import exported members AppleAuthRequestOperation (API documentation), AppleAuthRequestScope API documentation & AppleAuthCredentialState API documentation.
// App.js

import appleAuth, {
  AppleButton,
  AppleAuthRequestOperation,
  AppleAuthRequestScope,
  AppleAuthCredentialState,
} from '@invertase/react-native-apple-authentication';

async function onAppleButtonPress() {
  // performs login request
  const appleAuthRequestResponse = await appleAuth.performRequest({
    requestedOperation: AppleAuthRequestOperation.LOGIN,
    requestedScopes: [AppleAuthRequestScope.EMAIL, AppleAuthRequestScope.FULL_NAME],
  });

  // get current authentication state for user
  const credentialState = await appleAuth.getCredentialStateForUser(appleAuthRequestResponse.user);

  // use credentialState response to ensure the user is authenticated
  if (credentialState === AppleAuthCredentialState.AUTHORIZED) {
    // user is authenticated
  }
}
3. Event Listener
Set up event listener for when user's credentials have been revoked.
// App.js

import React, { useEffect } from 'react';
import { View } from 'react-native';
import appleAuth, { AppleButton } from '@invertase/react-native-apple-authentication';

function App() {
  useEffect(() => {
    // onCredentialRevoked returns a function that will remove the event listener. useEffect will call this function when the component unmounts
    return appleAuth.onCredentialRevoked(async () => {
      console.warn('If this function executes, User Credentials have been Revoked');
    });
  }, []); // passing in an empty array as the second argument ensures this is only ran once when component mounts initially.

  return (
    <View>
      <AppleButton onPress={() => onAppleButtonPress()} />
    </View>
  );
}
4. Implement the logout process
// App.js

import { View, Button } from 'react-native';
import appleAuth, {
  AppleAuthRequestOperation,
  AppleAuthCredentialState,
} from '@invertase/react-native-apple-authentication';

async function onLogout() {
  // performs logout request
  const appleAuthRequestResponse = await appleAuth.performRequest({
    requestedOperation: AppleAuthRequestOperation.LOGOUT,
  });

  // get current authentication state for user
  const credentialState = await appleAuth.getCredentialStateForUser(appleAuthRequestResponse.user);

  // use credentialState response to ensure the user credential's have been revoked
  if (credentialState === AppleAuthCredentialState.REVOKED) {
    // user is unauthenticated
  }
}

function App() {
  return (
    <View>
      <Button onPress={() => onLogout()}>log out</Button>
    </View>
  );
}
API Reference Documentation
Interfaces
- appleAuth module
- AppleAuthRequestOptions
- AppleAuthRequestResponse
- AppleAuthRequestResponseFullName
- AppleButtonProps
Enumerations
- AppleAuthCredentialState
- AppleAuthError
- AppleAuthRealUserStatus
- AppleAuthRequestOperation
- AppleAuthRequestScope
- AppleButtonStyle
- AppleButtonType
FAQs
- Why does
full nameandemailreturnnull?- Apple only returns the
full nameandemailon the first login, it will returnnullon the succeeding login so you need to save those data. - For testing purposes, to be receive these again, go to your device settings;
Settings > Apple ID, iCloud, iTunes & App Store > Password & Security > Apps Using Your Apple ID, tap on your app and tapStop Using Apple ID. You can now sign-in again and you'll receive thefull nameand `email.
- Apple only returns the
License
- See LICENSE

Built and maintained with 💛 by Invertase.
💼 Hire Us | ☕️ Sponsor Us | 💻 Work With Us


