Package Exports
- @xenova/transformers
- @xenova/transformers/src/transformers.js
This package does not declare an exports field, so the exports above have been automatically detected and optimized by JSPM instead. If any package subpath is missing, it is recommended to post an issue to the original package (@xenova/transformers) to support the "exports" field. If that is not possible, create a JSPM override to customize the exports field for this package.
Readme
Transformers.js
Run 🤗 Transformers in your browser! We currently support BERT, DistilBERT, T5, GPT2, and BART models, for a variety of tasks including: masked language modelling, text classification, translation, summarization, question answering, and text generation.

Getting Started
It's super easy to translate from existing code!
Python (original):
from transformers import pipeline

# Allocate a pipeline for sentiment-analysis
classifier = pipeline('sentiment-analysis')

output = classifier('I love transformers!')
# [{'label': 'POSITIVE', 'score': 0.9998069405555725}]
Javascript (ours):
import { pipeline } from "@xenova/transformers";

// Allocate a pipeline for sentiment-analysis
let classifier = await pipeline('sentiment-analysis');

let output = await classifier('I love transformers!');
// [{label: 'POSITIVE', score: 0.9998176857266375}]
Note: If running locally, it is assumed that the required model files are located in ./models/onnx/quantized/. To override this behaviour, you can specify the model path or URL as a second argument to the pipeline function. For example, to use models from the HuggingFace hub:
// Set host, model_id and task:
const hf_url = 'https://huggingface.co/Xenova/transformers.js/resolve/main/quantized';
const model_id = 'distilbert-base-uncased-finetuned-sst-2-english';
const task = 'sequence-classification';

const model_url = `${hf_url}/${model_id}/${task}`;

// You can now create the classifier using:
let classifier = await pipeline('sentiment-analysis', model_url);
Demo
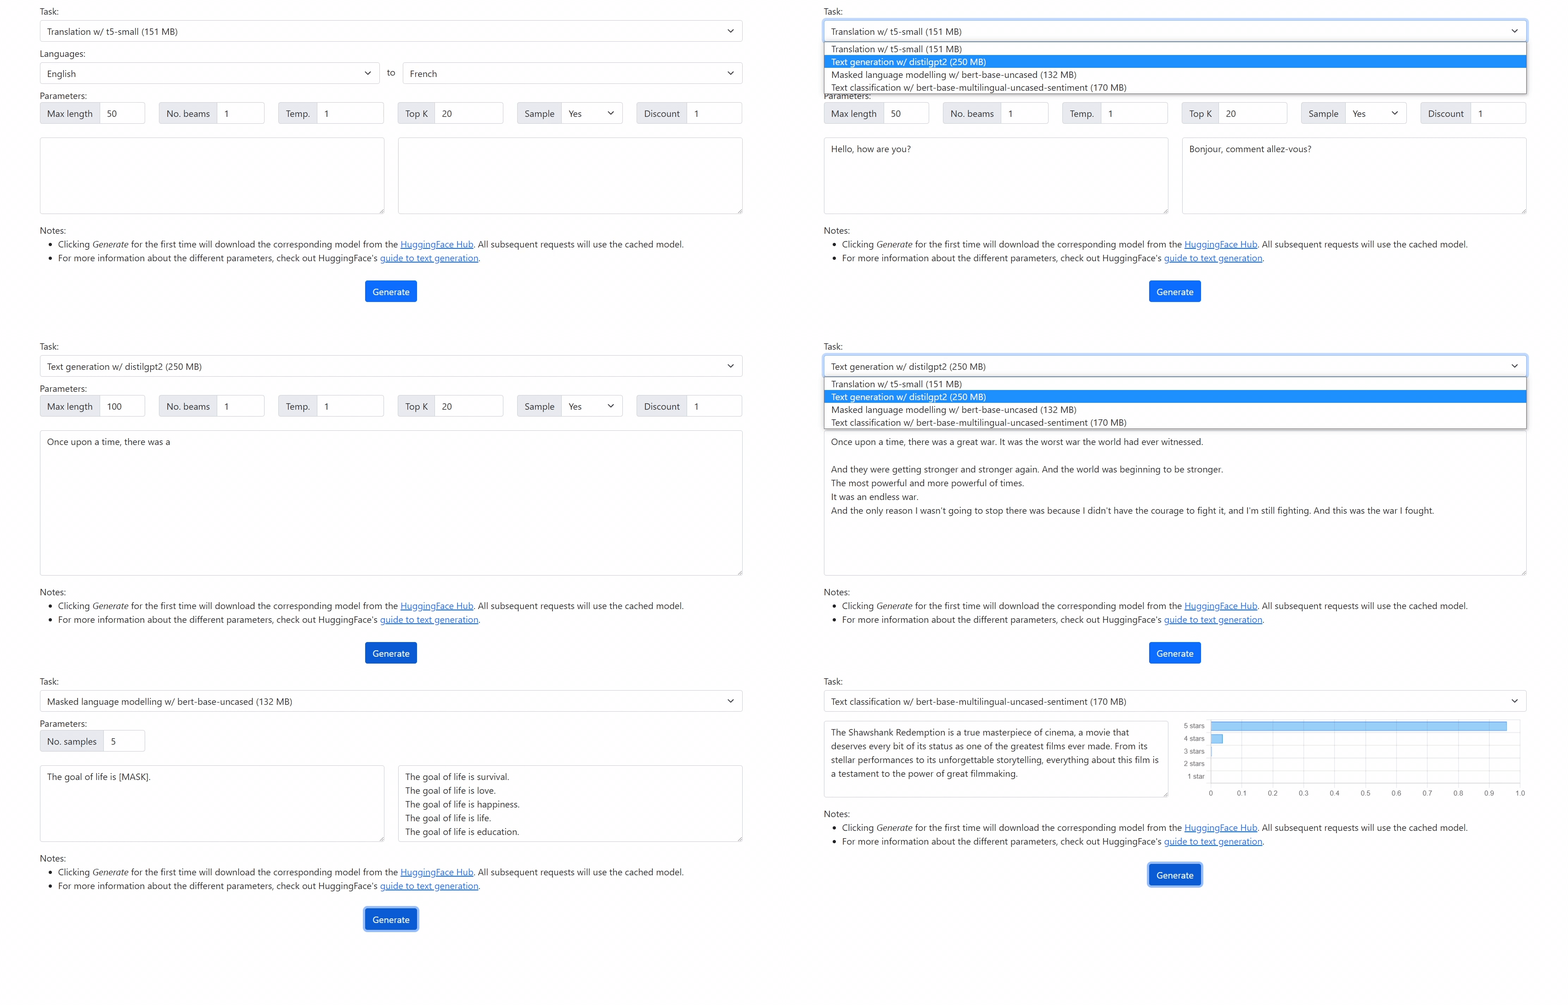
Check out our demo at https://xenova.github.io/transformers.js/. As you'll see, everything runs inside the browser!
Usage
Convert your PyTorch models to ONNX
We use ONNX Runtime to run the models in the browser, so you must first convert your PyTorch model to ONNX (which can be done using our conversion script). In general, the command will look something like this:
python ./scripts/convert.py --model_id <hf_model_id> --from_hub --quantize --task <task>For example, to use bert-base-uncased for masked language modelling, you can use the command:
python ./scripts/convert.py --model_id bert-base-uncased --from_hub --quantize --task masked-lmIf you want to use a local model, remove the --from_hub flag from above and place your PyTorch model in the ./models/pytorch/ folder. You can also choose a different location by specifying the parent input folder with --input_parent_dir /path/to/parent_dir/ (note: without the model id).
Alternatively, you can find some of the models we have already converted here. For example, to use bert-base-uncased for masked language modelling, you can use the model found at https://huggingface.co/Xenova/transformers.js/tree/main/quantized/bert-base-uncased/masked-lm.
Note: We recommend quantizing the model (--quantize) to reduce model size and improve inference speeds (at the expense of a slight decrease in accuracy). For more information, run the help command: python ./scripts/convert.py -h.
Options
Coming soon...
Examples
Coming soon... In the meantime, check out the source code for the demo here.
Credit
Inspired by https://github.com/praeclarum/transformers-js