
Package Exports
- monacopilot
- monacopilot/build/index.js
- monacopilot/build/index.mjs
This package does not declare an exports field, so the exports above have been automatically detected and optimized by JSPM instead. If any package subpath is missing, it is recommended to post an issue to the original package (monacopilot) to support the "exports" field. If that is not possible, create a JSPM override to customize the exports field for this package.
Readme
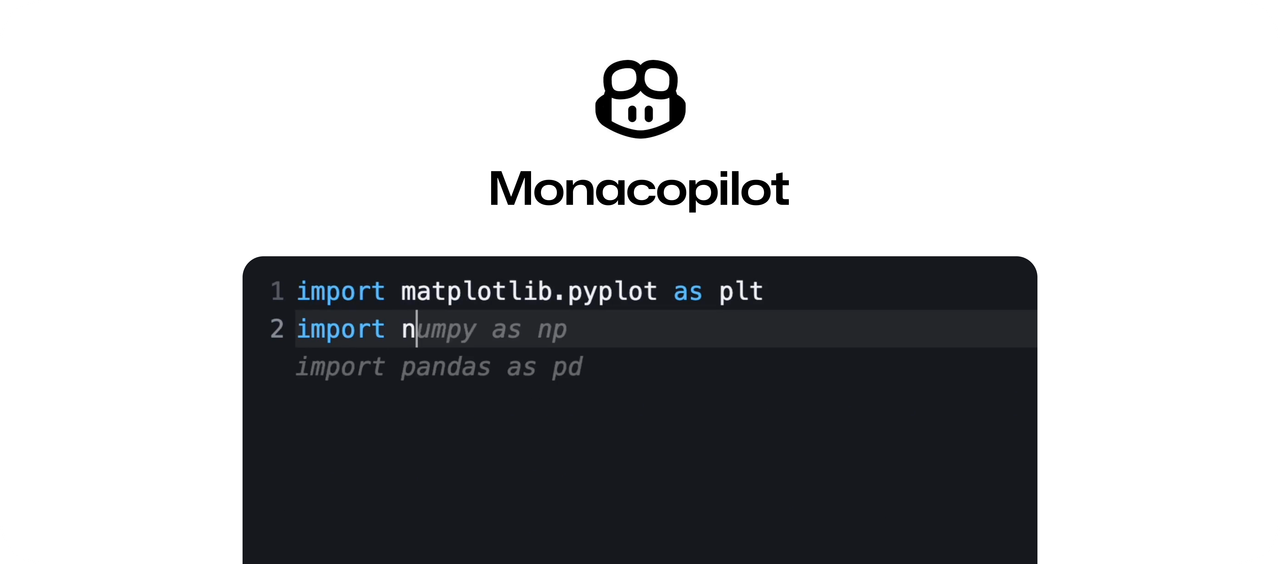
Monacopilot
Monacopilot integrates AI auto-completion into the Monaco Editor, inspired by GitHub Copilot.
Table of Contents
- Examples
- Installation
- Usage
- Copilot Options
- Completion Request Options
- Configuration Options
- Cost Overview
- Contributing
Examples
Here are some examples of how to use Monacopilot in different project setups:
- Next.js
- Remix
Installation
To install Monacopilot, run:
npm install monacopilot🧩 For TypeScript users, You can import most of the types from monacopilot package.
Usage
Setting Up the API Key
In this example, we'll use Groq as our provider.
Start by obtaining an API key from the Groq console. Once you have your API key, define it as an environment variable in your project:
# .env.local
GROQ_API_KEY=your-api-key
API Handler
Set up an API handler to manage auto-completion requests. An example using Express.js:
const express = require('express');
const {Copilot} = require('monacopilot');

const app = express();
const port = process.env.PORT || 3000;
const copilot = new Copilot(process.env.GROQ_API_KEY);

app.use(express.json());

app.post('/copilot', async (req, res) => {
  const completion = await copilot.complete({
    body: req.body,
  });
  res.status(200).json(completion);
});

app.listen(port);
Great! Now Monacopilot is all set up to send completion requests to the /copilot endpoint and get those completions back. It's like a high-five between your code and the AI!
The copilot.complete method processes the request body sent by Monacopilot and returns the corresponding completion.
Register Copilot with the Monaco Editor
Now, let's integrate Copilot with the Monaco editor. Here's how you can do it:
import * as monaco from 'monaco-editor';
import {registerCopilot} from 'monacopilot';

const editor = monaco.editor.create(document.getElementById('container'), {
  language: 'javascript',
});

registerCopilot(monaco, editor, {
  endpoint: 'https://api.example.com/copilot',
  language: 'javascript',
});| Parameter | Type | Description |
|---|---|---|
endpoint |
string |
The URL of the API endpoint that we created in the previous step. |
language |
string |
The language of the editor. |
🎉 Hurray! Monacopilot is now connected to the Monaco Editor. Start typing and see completions in the editor.
Copilot Options
Changing the Provider and Model
You can specify a different provider and model for completions by setting the provider and model parameters in the Copilot instance.
const copilot = new Copilot(process.env.OPENAI_API_KEY, {
  provider: 'openai',
  model: 'gpt-4o',
});
The default provider is groq and the default model is llama-3-70b.
There are other providers and models available. Here is a list:
| Provider | Models |
|---|---|
| Groq | llama-3-70b |
| OpenAI | gpt-4o, gpt-4o-mini, o1-preview, o1-mini |
| Anthropic | claude-3.5-Sonnet, claude-3-opus, claude-3-sonnet, claude-3-haiku |
Custom Model
You can use a custom AI model that isn't built into Monacopilot by setting up a model when you create a new Copilot. This feature lets you connect to AI models from other services or your own custom-built models.
Example
const copilot = new Copilot(process.env.HUGGINGFACE_API_KEY, {
  // provider: 'huggingface', You don't need to set the provider if you are using a custom model.
  model: {
    config: (apiKey, prompt) => ({
      endpoint:
        'https://api-inference.huggingface.co/models/openai-community/gpt2',
      headers: {
        Authorization: `Bearer ${apiKey}`,
        'Content-Type': 'application/json',
      },
      body: {
        inputs: prompt.user,
        parameters: {
          max_length: 100,
          num_return_sequences: 1,
          temperature: 0.7,
        },
      },
    }),
    transformResponse: response => {
      if (response.error) {
        return {
          completion: null,
          error: response.error,
        };
      }

      return {
        completion: response[0].generated_text,
      };
    },
  },
});
Please make sure you are using a better model, especially for coding tasks, to get the best and most accurate completions. Otherwise, you may experience poor performance or inaccurate completions.
Configuration
The model option accepts an object with two functions:
| Function | Description | Type |
|---|---|---|
config |
A function that receives the API key and prompt data, and returns the configuration for the custom model API request. | (apiKey: string, prompt: {system: string, user: string}) => { endpoint: string, body?: object, headers?: object } |
transformResponse |
A function that takes the raw/parsed response from the custom model API and converts it into an object with the following structure: | (response: unknown) => { completion: string | null, error?: string } |
The config function must return an object with the following properties:
| Property | Type | Description |
|---|---|---|
endpoint |
string |
The URL of the custom model API endpoint. |
body |
object | undefined |
The body of the custom model API request. |
headers |
object | undefined |
The headers of the custom model API request. |
The transformResponse function must return an object with the following structure:
| Property | Type | Description |
|---|---|---|
completion |
string | null |
The generated completion text to be inserted in the editor. |
error |
string | undefined |
An error message if something went wrong. |
This structure allows for easy integration of the custom model's output with the rest of the Monacopilot system, providing either the generated completion text or an error message if something went wrong.
Completion Request Options
Custom Headers
You can add custom headers to the provider's completion requests. For example, if you select OpenAI as your provider, you can add a custom header to the OpenAI completion requests made by Monacopilot.
copilot.complete({
  body,
  options: {
    // ...other options
    headers: {
      'X-Custom-Header': 'custom-value',
    },
  },
});
Custom Prompt
You can customize the prompt used for generating completions by providing a customPrompt function in the options parameter of the copilot.complete method. This allows you to tailor the AI's behavior to your specific needs.
Usage
copilot.complete({
  body,
  options: {
    customPrompt: metadata => ({
      system: 'Your custom system prompt here',
      user: 'Your custom user prompt here',
    }),
  },
});
The system and user prompts in the customPrompt function are optional. Omitting either uses the default prompt for that field. Example of customizing only the system prompt:
copilot.complete({
  body,
  options: {
    customPrompt: metadata => ({
      system:
        'You are an AI assistant specialized in writing React components, focusing on creating clean...',
    }),
  },
});
Parameters
The customPrompt function receives a completionMetadata object with the following properties:
| Property | Type | Description |
|---|---|---|
| language | string |
The programming language of the code |
| cursorPosition | {lineNumber: number, column: number} |
The current cursor position in the editor |
| filename | string | undefined |
The name of the file being edited. Only available if you have provided the filename option in the registerCopilot function. |
| technologies | string[] | undefined |
An array of technologies used in the project. Only available if you have provided the technologies option in the registerCopilot function. |
| externalContext | object | undefined |
Additional context from related files. Only available if you have provided the externalContext option in the registerCopilot function. |
| textAfterCursor | string |
The text that appears after the cursor |
| textBeforeCursor | string |
The text that appears before the cursor |
| editorState | object |
An object containing the completionMode property |
The editorState.completionMode can be one of the following:
| Mode | Description |
|---|---|
| fill-in-the-middle | Indicates that the cursor is positioned within the existing text. In this mode, the AI will generate content to be inserted at the cursor position. |
| completion | Indicates that the cursor is at the end of the existing text. In this mode, the AI will generate content to continue or complete the text from the cursor position. |
For additional completionMetadata needs, please open an issue.
The customPrompt function should return an object with two properties:
| Property | Type | Description |
|---|---|---|
| system | string | undefined |
A string representing the system prompt for the model |
| user | string | undefined |
A string representing the user prompt for the model |
Example
Here's an example of a custom prompt that focuses on generating React component code:
const customPrompt = ({textBeforeCursor, textAfterCursor}) => ({
  system:
    'You are an AI assistant specialized in writing React components. Focus on creating clean, reusable, and well-structured components.',
  user: `Please complete the following React component:

${textBeforeCursor}
// Cursor position
${textAfterCursor}

Use modern React practices and hooks where appropriate. If you're adding new props, make sure to include proper TypeScript types. Please provide only the finished code without additional comments or explanations.`,
});

copilot.complete({
  body,
  options: {customPrompt},
});
By using a custom prompt, you can guide the model to generate completions that better fit your coding style, project requirements, or specific technologies you're working with.
Configuration Options
Get Completions in Real-Time
The trigger option determines when Copilot provides code completions. You can choose between receiving suggestions in real-time as you type or after a brief pause.
registerCopilot(monaco, editor, {
  // ...other options
  trigger: 'onTyping',
});| Trigger | Description | Notes |
|---|---|---|
'onIdle' (default) |
Copilot provides completions after a brief pause in typing. | This approach is less resource-intensive, as it only initiates a request when the editor is idle. However, compared to onTyping it may result in a bit reduced experience with completions. |
'onTyping' |
Copilot provides completions in real-time as you type. | This approach is best suited for models with low response latency, such as Groq. Please note that this trigger mode initiates additional background requests to deliver real-time suggestions. |
If you prefer real-time completions, you can set the trigger option to 'onTyping'. This is ideal for those who need immediate or fast completion experiences.
External Context
Enhance the accuracy and relevance of Copilot's completions by providing additional code context from your workspace.
registerCopilot(monaco, editor, {
  // ...other options
  externalContext: [
    {
      path: './utils.js',
      content:
        'export const reverse = (str) => str.split("").reverse().join("")',
    },
  ],
});
By providing external context, Copilot can offer more intelligent suggestions. For example, if you start typing const isPalindrome = , Copilot may suggest using the reverse function from utils.js.
Filename
Specify the name of the file being edited to receive more contextually relevant completions.
registerCopilot(monaco, editor, {
  // ...other options
  filename: 'utils.js', // e.g., "index.js", "utils/objects.js"
});
Now, the completions will be more relevant to utilities.
Completions for Specific Technologies
Enable completions tailored to specific technologies by using the technologies option.
registerCopilot(monaco, editor, {
  // ...other options
  technologies: ['react', 'next.js', 'tailwindcss'],
});
This configuration will provide completions relevant to React, Next.js, and Tailwind CSS.
Contributing
For guidelines on contributing, Please read the contributing guide.
We welcome contributions from the community to enhance Monacopilot's capabilities and make it even more powerful ❤️