
Package Exports
- spacerepetition
Readme
Space Repetition
A Spaced Repetition Library


Install + Import
$ npm install spacerepetitionAnd import it
import { createFlashcards } from 'spacerepetition'Or you can include it from a CDN:
<script src="https://cdn.jsdelivr.net/npm/spacerepetition/dist/spacerepetition.min.js"></script>And use it:
<script>
    const flashcards = Spacerepetition.createFlashcards([1, 2, 3])
</script>
Usage
It doesn't matter what your data looks like, it will always return an array of flashcards:
const flashcards = createFlashcards([{ front: "Question", back: "Answer" }])Here is what it returns:
/*
[
 {
    front: 'Question',
    back: 'Answer',
    learningAlgorithm: 'default',
    easeFactor: 2.7,
    minEaseFactor: 1.3,
    interval: 1,
    repetition: 0,
    dueDate: 1733666742133,
    updateDifficulty: [Function: updateDifficulty],
    again: [Function: again],
    hard: [Function: hard],
    good: [Function: good],
    easy: [Function: easy]
  }
]
*/
Spaced Repetition Algorithms
There's currently only support for sm-2.
But you could also pass your own algorithm. Both parameters are optional:
You can also specify your own algorithm as long as it adhers to XXXXXXXX:
function myAlgorithm(card, difficulty) {
    return "use the card that you pass to update the internal state of the card"
}

const flashcards = createFlashcards([], myAlgorithm)
Config
Besides manually adjusting values on the cards, you can also pass a config object as the third parameter to initialize cards with different values:
const config = {
    interval: 7
}

const flashcards = createFlashcards([], undefined, config)
Here is what the config object looks like:
| Key | Default Value | Target Algorithm |
|---|---|---|
| easeFactor | 2.7 | SM-2 |
| minEaseFactor | 1.3 | SM-2 |
| interval | 1 | SM-2 |
| repetition | 0 | SM-2 |
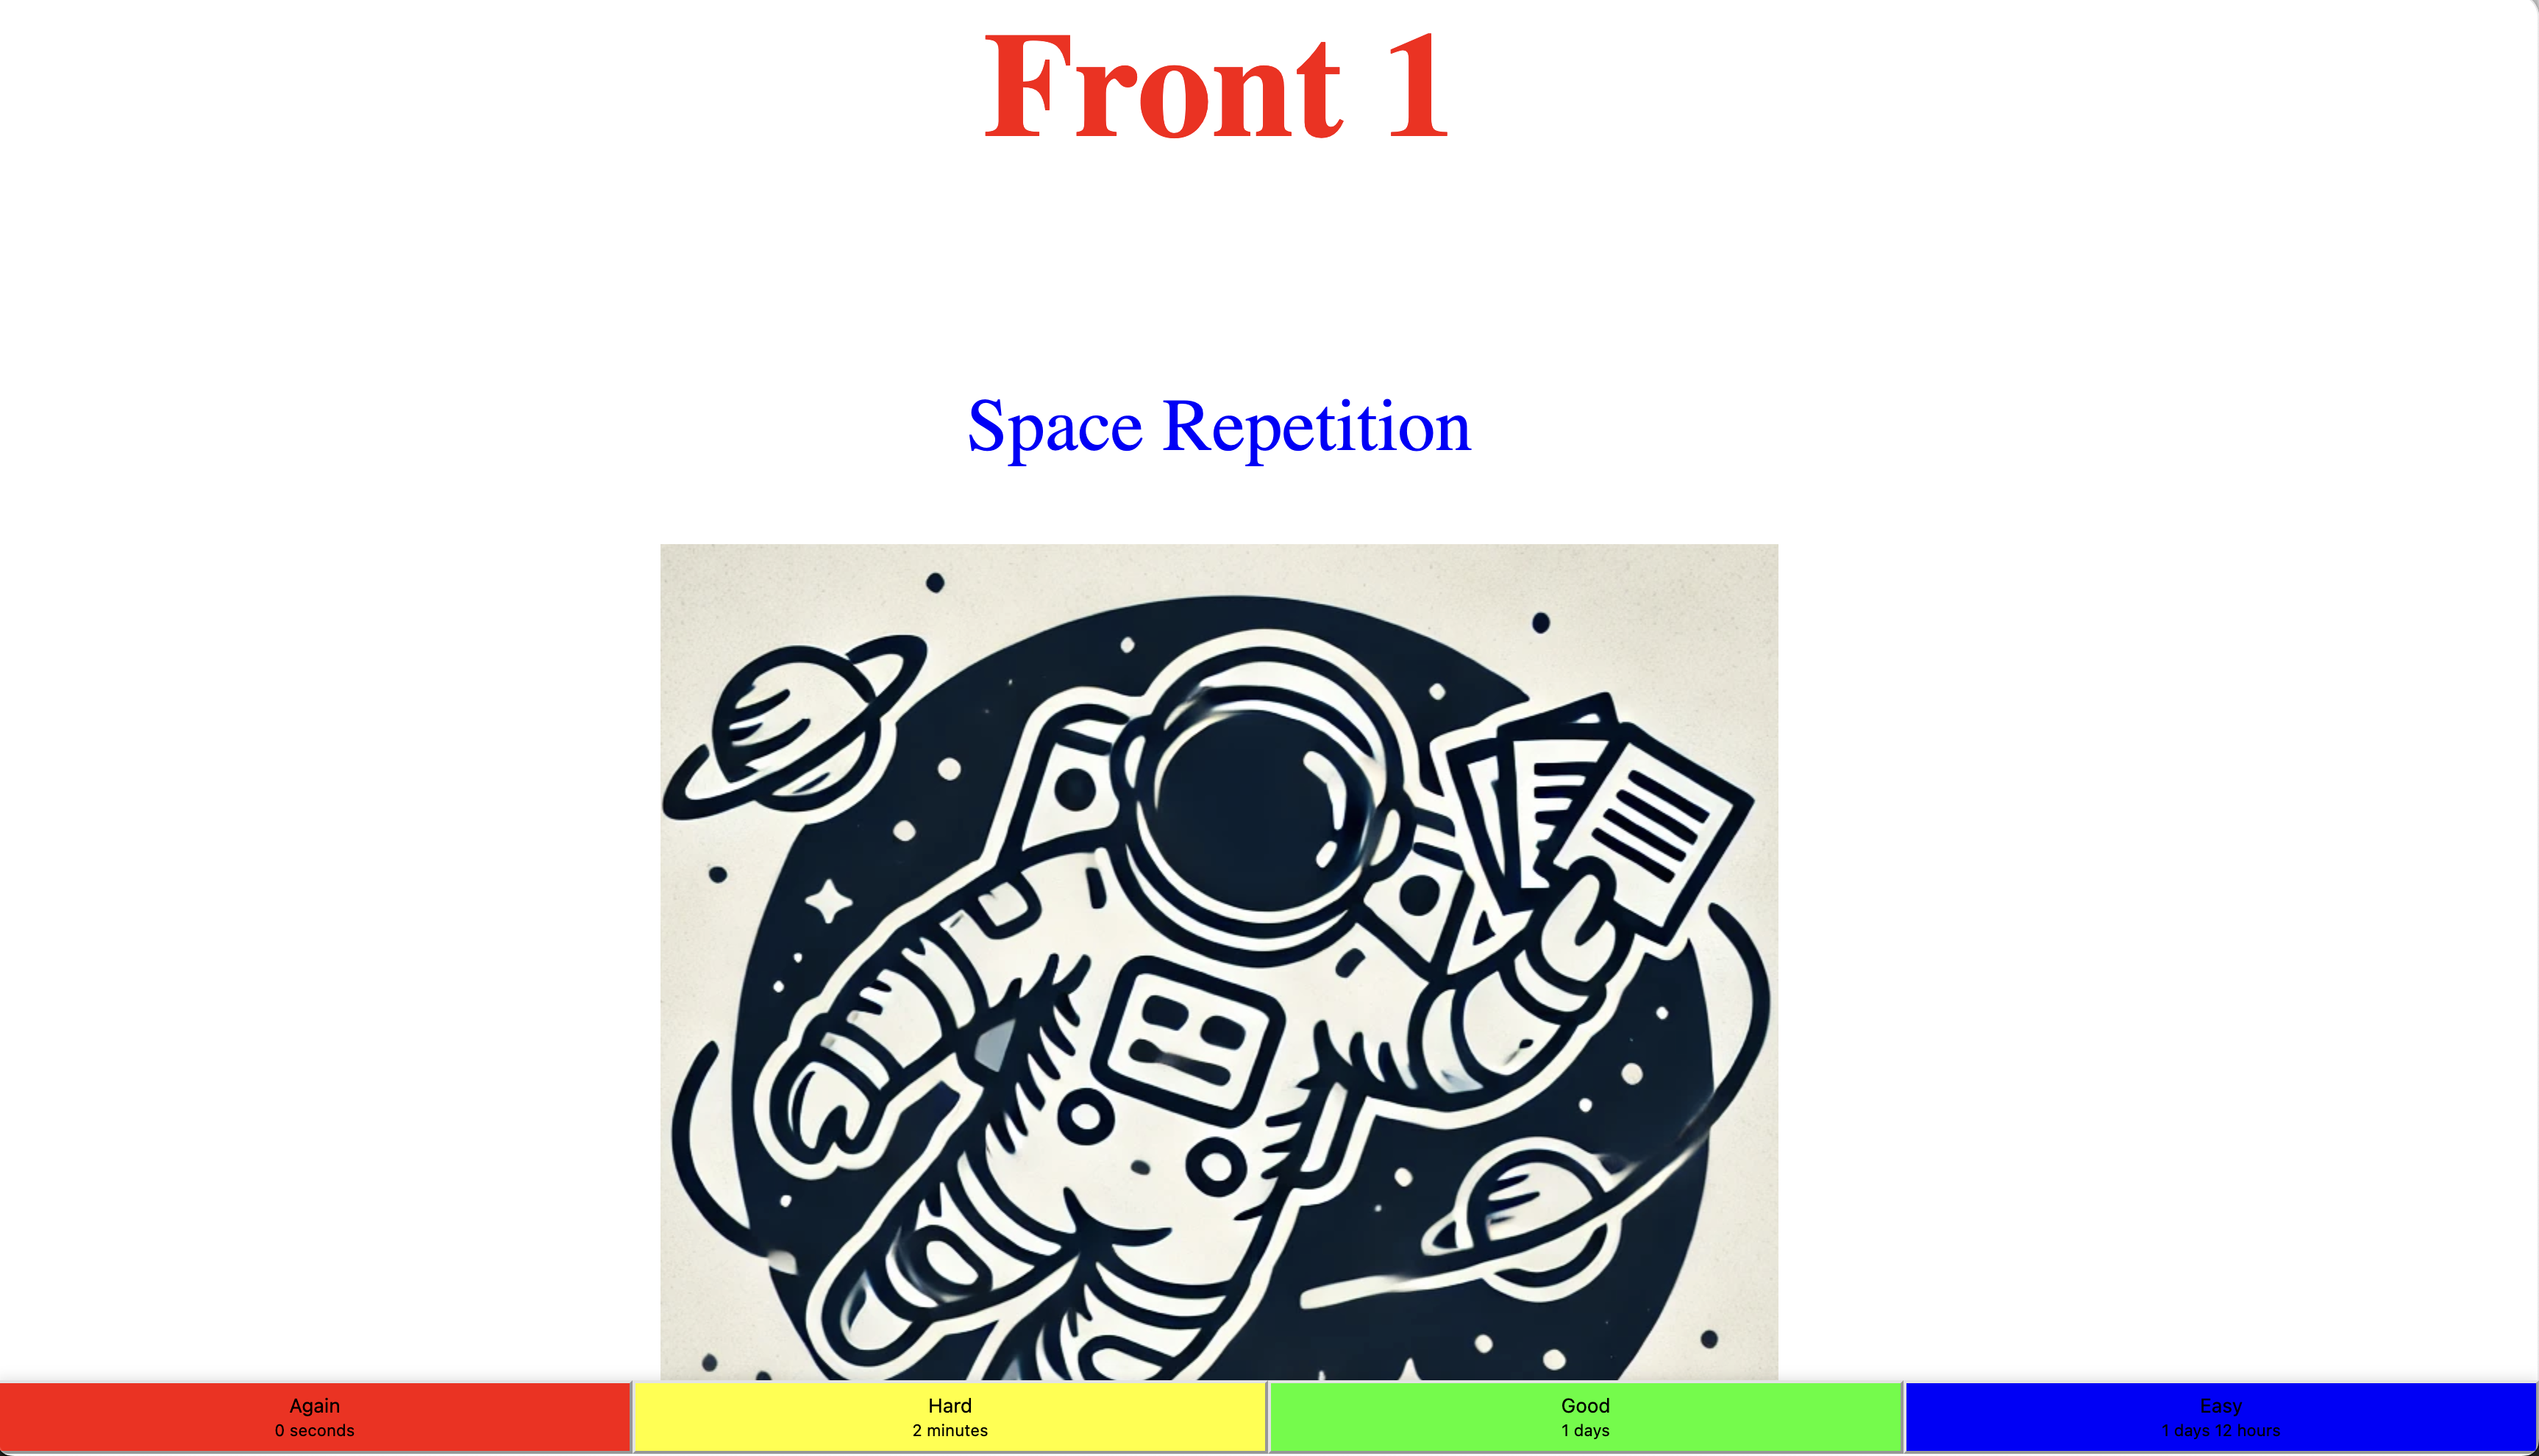
UI
You can use the built-in UI for HTML. You can style the front and back property with text or any HTML:
<!DOCTYPE html>
<html lang="en" style="height: 100%; margin: 0;">
<head>
    <title>Space Repetition</title>
    <script src="https://cdn.jsdelivr.net/npm/spacerepetition/dist/spacerepetition.min.js"></script>
</head>
<body style="margin: 0; padding: 0; height: 100%; display: flex; flex-direction: column;">

    <script>
        const cards = [
            {   front: "<h1 style='color: red'>Front 1</h1>",
                back: `<div><p style='color: blue;'>Space Repetition</p>
                        <img src='https://raw.githubusercontent.com/anderslatif/SpaceRepetition/main/spacerepetitionlogo.png'>
                       </div>` },
            { front: "Front 2", back: "Back 2" },
        ];

        const myFlashcards = SpaceRepetition.createFlashcards(cards);

        const { template, startFlashcardsUI } = SpaceRepetition.createUI(myFlashcards);

        document.body.insertAdjacentHTML('afterbegin', template);

        startFlashcardsUI(myFlashcards);
    </script>
</body>
</html>
It's a 3 step process:
Genereate the flashcards. (This manual step allows you to provide existing flashcards or set their values).
Generate the UI (styling, front, back, button row) and insert them in the document. Set the CSS values as seen above on the HTML and body tag.
Call
startFlashcardsUIwith the flashcards you generated in step 1.
The end result will look like this:
Statistics
You can get statistics about the flashcards: