
Package Exports
This package does not declare an exports field, so the exports above have been automatically detected and optimized by JSPM instead. If any package subpath is missing, it is recommended to post an issue to the original package (@sprucelabs/jest-sheets-reporter) to support the "exports" field. If that is not possible, create a JSPM override to customize the exports field for this package.
Readme
Google Sheets Reporter
Update a Google Sheet when your tests pass or fail.
Installing
yarn add -D @sprucelabs/jest-sheets-reporternpm install --dev @sprucelabs/jest-sheets-reporterExample Jest config
Inside your package.json there is a jest block.
Add the following configuration:
"jest": {
    "reporters": [
        "default",
        [
            "@sprucelabs/jest-sheets-reporter",
            {
                "sheetId": "{{spreadsheetId}}",
                "worksheetId": 0,
                "testMap": {
                    "testName": "destinationCell",
                    "getsGoodHealthCheckAndNothingElse": "C5",
                    "canGetLatestVersionBasedOnDir": "C16",
                    "canBuildSkill": "C24",
                    "canWatchAndBuild": "C25"
                }
            }
        ]
    ]
},
How does it work
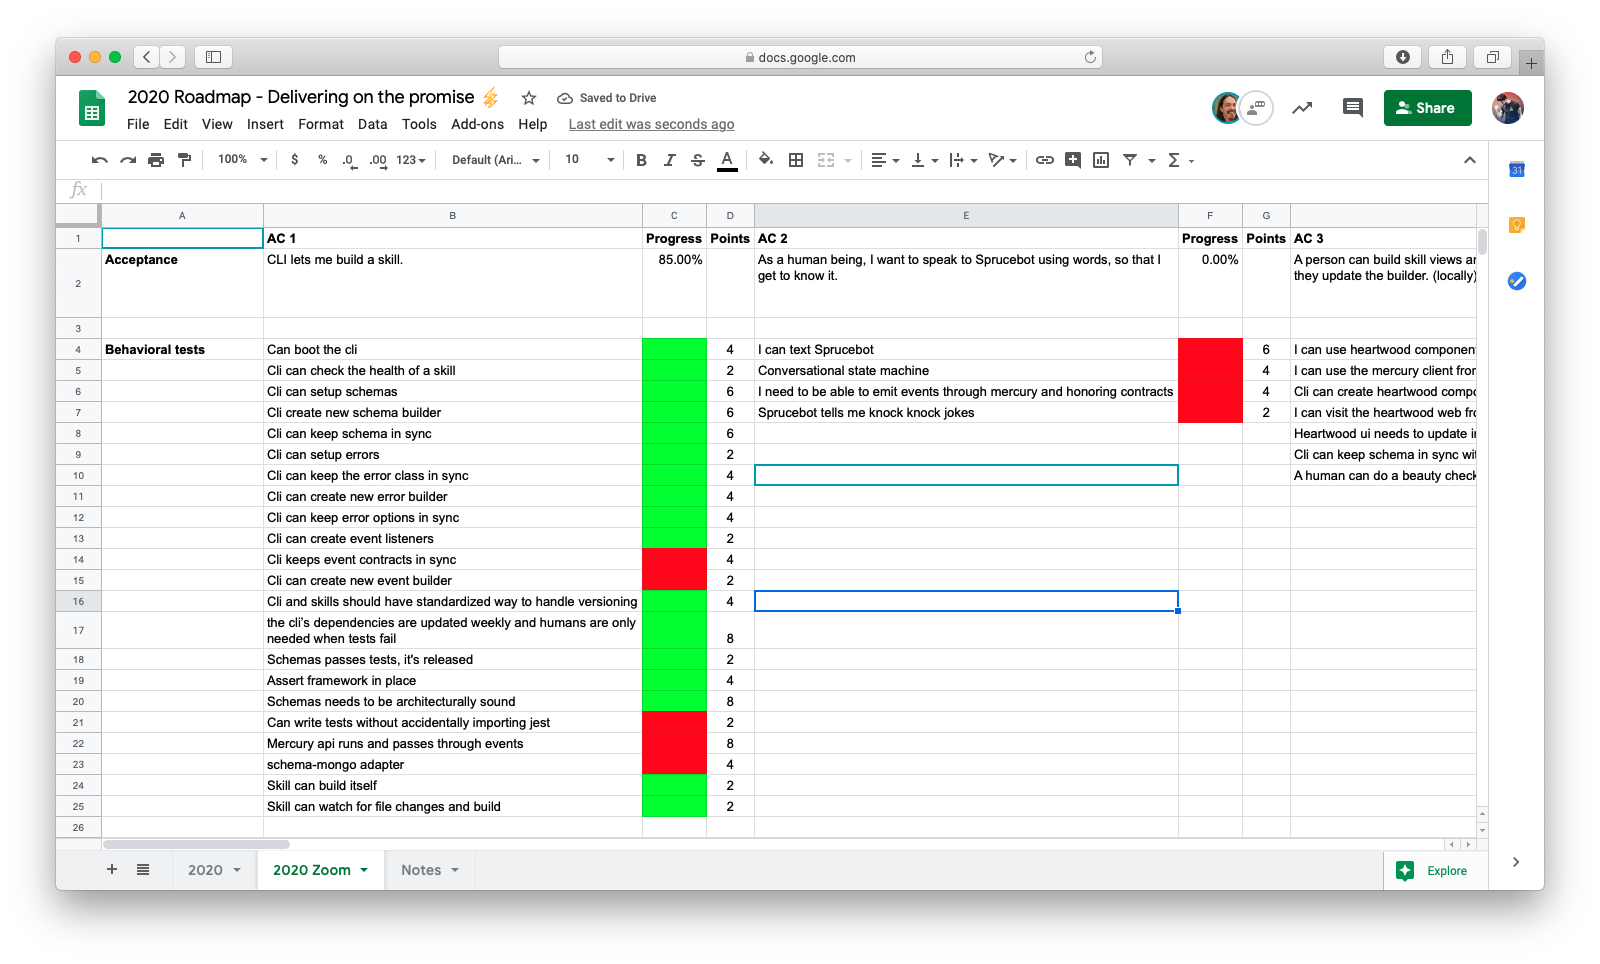
This simple reporter matches the name of your test against what is in your jest config and updates the cell whose name matches.
If a test passes, the cell is set to 1.
If a test fails, the cell is set to 0.
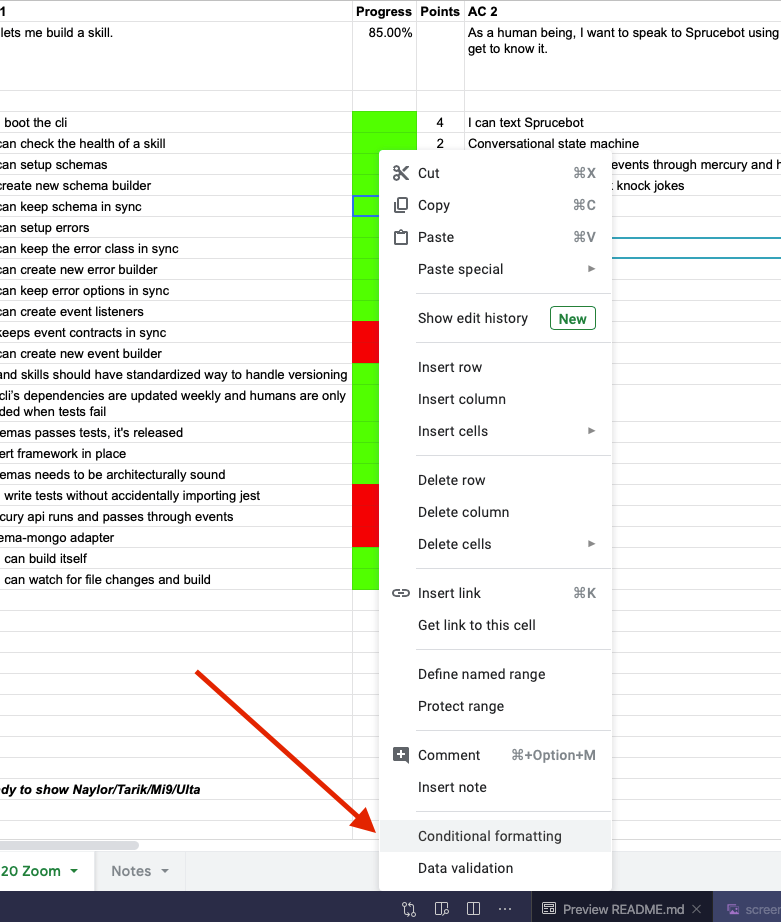
Making it pretty
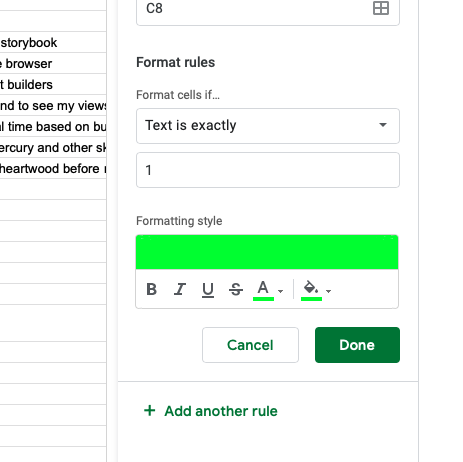
You can change the look of a cell by using conditional formatting:
Then we set the background and the text color based on the value being exactly 1 or 0.
Getting your account credentials
- Visit the Google Console
- Create a new project, call it Test Integrations
- After creation, go to the project dashboard and in the left meno go "API's & Services" -> "Enabled API's & Services"
- Click "+ Enable API's and Services"
- Find sheets and enable it.
- After save, click "Create Credentials" in the upper right.
- Give it a name, leave everything else blank and save
- After save, click "Credentials" in the left menu
- Then click on your service account's name
- On the service account details page, click "KEYS" tab
- Click Add Key -> JSON
- Take the download private key and open it
- client_email -> GOOGLE_SERVICE_EMAIL
- private_key -> GOOGLE_SERVICE_PRIVATE_KEY
- Remember to invite the service email to any spreadsheet you want it to update!